Logix Platform December 2023 release
Logix Platform introduced a new feature Smart ops which allows auto allocation of waybill to the courier based on availability of couriers in particular zones and according to weight capacity.
1- Login:Login in the logix Platform using your credentials.
2- Navigate to Delivery:
3- Click on “Courier-Geo-Fence”: You will find it in the dropdown list.
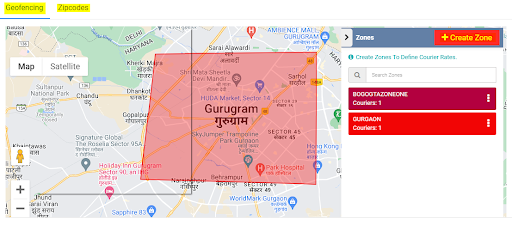
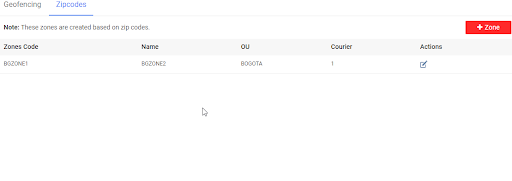
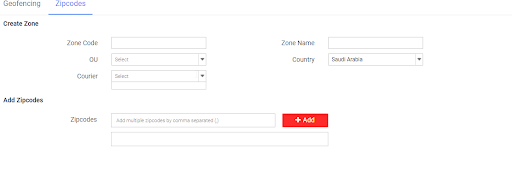
Below Screen will open allowing you to create zones on the basis of Geofencing or on the basis of Zip Codes. All the created zones are displayed on the screen.
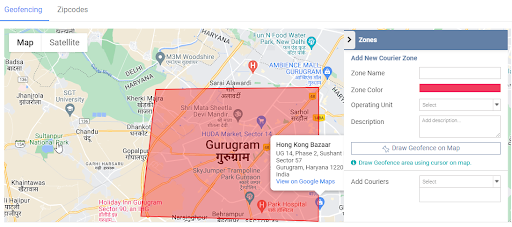
New geofence is created along with the couriers in the geofence.
Click on the Smart Ops submodule under the Delivery Module.
Go to Delivery>>Smart Ops
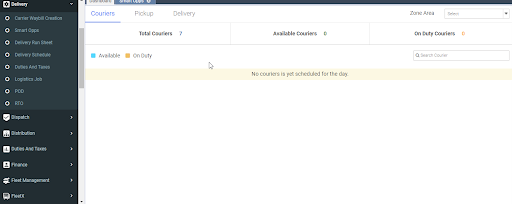
. After clicking on the smart opps, 3 main tabs are visible.
Couriers tab is all about Total couriers, available couriers, on duty couriers. Only those courier boys who have marked their attendance are the active or on Duty couriers.
Once a courier boy has marked attendance then it shows as available courier in the system.
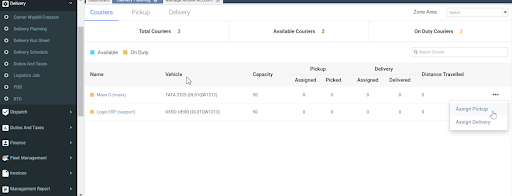
With the help of the manage button (3 dots), You can assign pickup and delivery. Once you click on assign delivery a new screen will appear where you can directly assign delivery to courier boy or will create delivery as the creation screen of delivery will be shown.
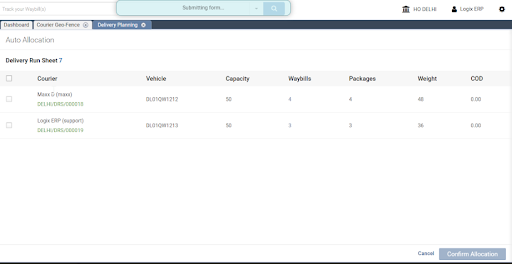
You need to select the waybill number then click on assign.
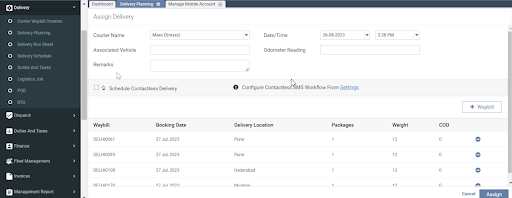
Once you click on the check box before the waybill number then you will be able to assign the auto deliveries to the courier.
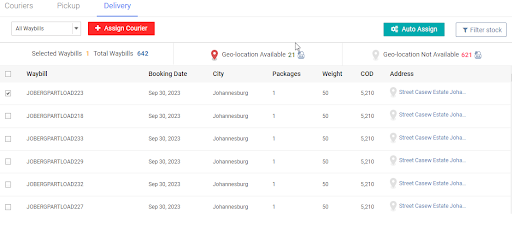
All the assigned deliveries will be shown. Click the checkbox then click on confirm allocation tab.